 Let's start making the quilt! To start we need to cut our fabrics. This is really easy because we are working with strips that are 2.5 inches wide for everything! So that keeps things nice and simple. For the coloured nine patch blocks, you need will need 24 strips of fabric that are 2.5 inches wide. Each block uses two contrasting fabrics. So you will need one strip to be 10 inches long and one to be 12.5 inches long. 1. Cut your 10 inch long strip into four 2.5 inch squares. Cut your 12.5 inch long strip into five 2.5 inch squares. The photo shows how to line your ruler up with the 2.5 measurement in line with the edge of the fabric. Then you can cut along the edge of the ruler. 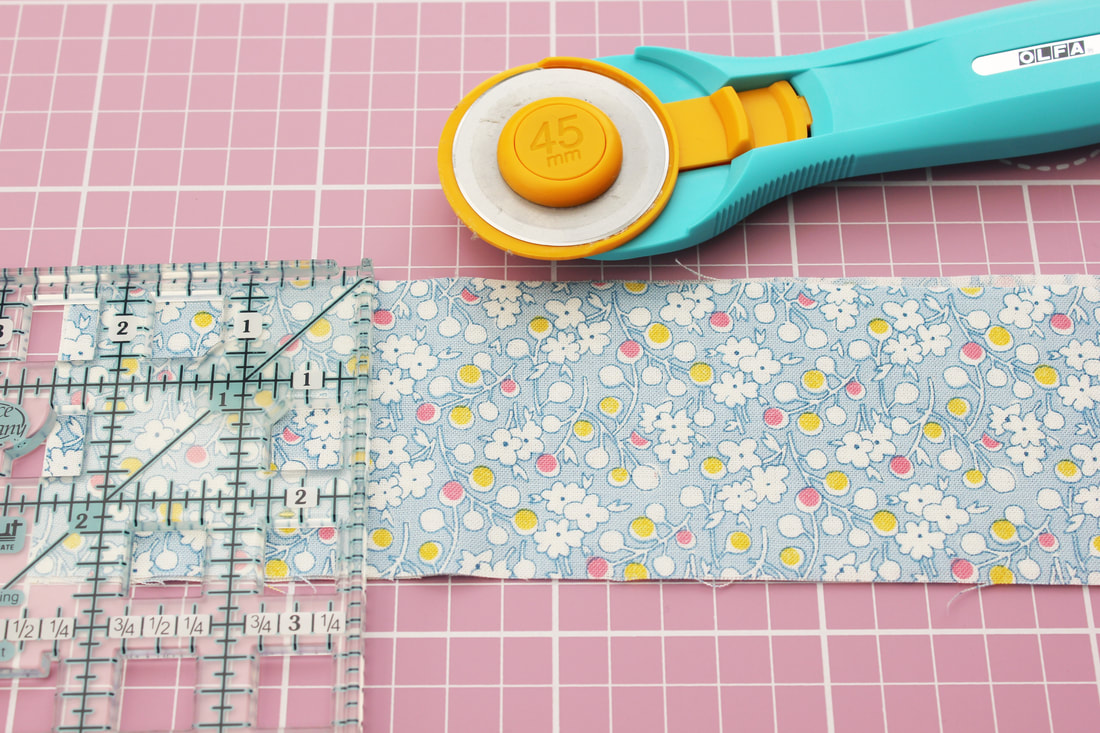 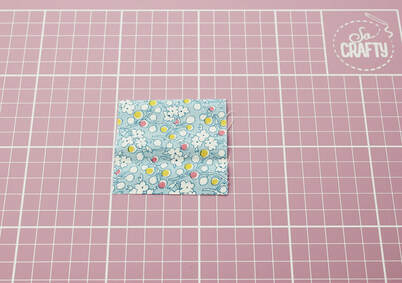 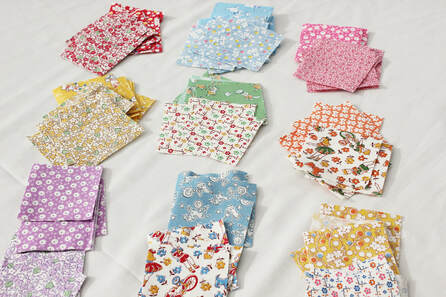 2. Decide which fabrics you are going to pair up for each block if you haven't already done so. We will be creating a pattern like this; 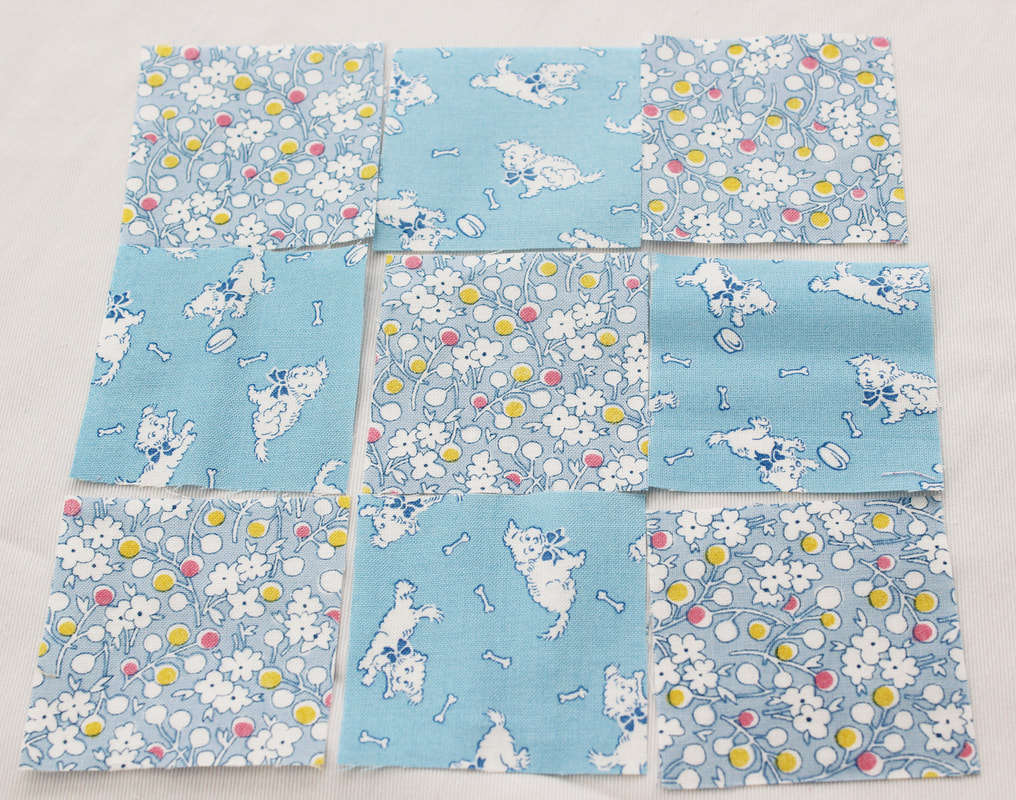 Once all of that cutting is done, it's time to get sewing! We will be sewing each block a row at a time, then joining them together. 3. Take the top left square and the top middle square. Place them right sides together and sew in place down one side using a quarter inch seam allowance. 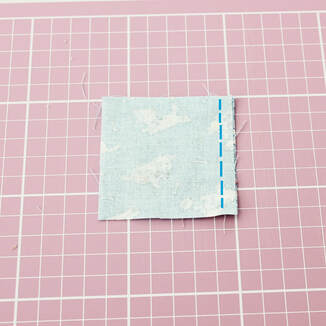 As I've used white thread I've drawn over it on the computer in blue to show you where to stitch. 4. Open it out and repeat on the other side of the central square with your top right square. 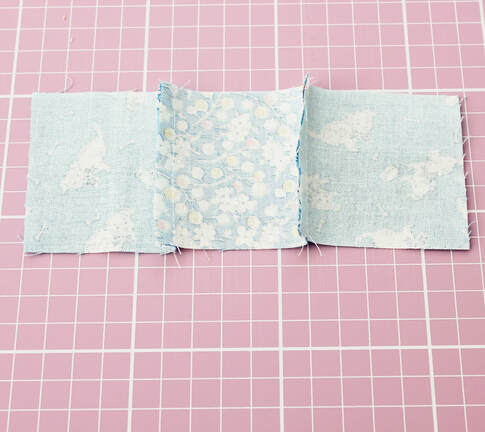 5. Now there are different opinions about what to do with your seams. Some people press them to one side. I press them open. I like this because I find it easier to line them up when joining them to other pieces. I've never had a problem with fabric showing through to the other side. So press your seams open if you wish. 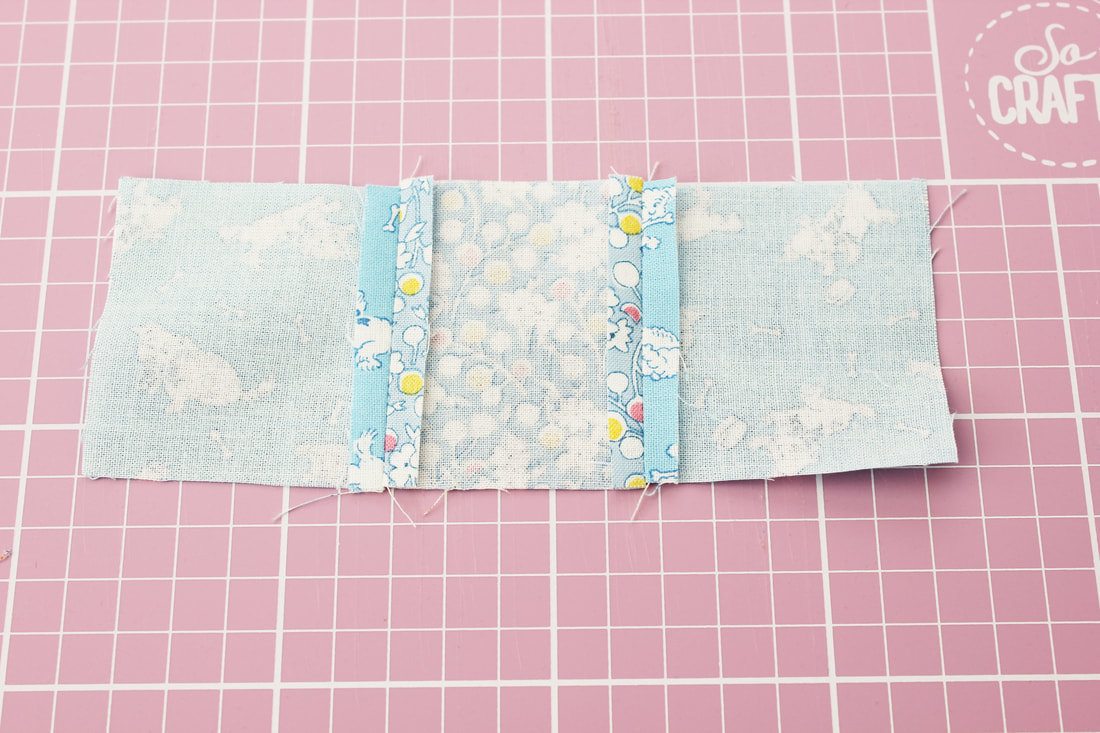 Repeat steps 3, 4 and 5 for the middle and bottom rows. 6. Now it's time to join your three rows together. Lay out your three rows how you'd like them to look when finished, with the right sides facing up. Pick up the top row and flip it over on top of the middle row so that the right sides of each row are facing each other. You need to make sure you have flipped the top row over towards you before placing it on top of the middle row, so that you are lining up the bottom raw edge of the top row and the top raw edge of the middle row! Sounds complicated but it isn't, it's just tricky to explain in words! So here is a photo. Sew along the blue line with a quarter inch seam allowance. 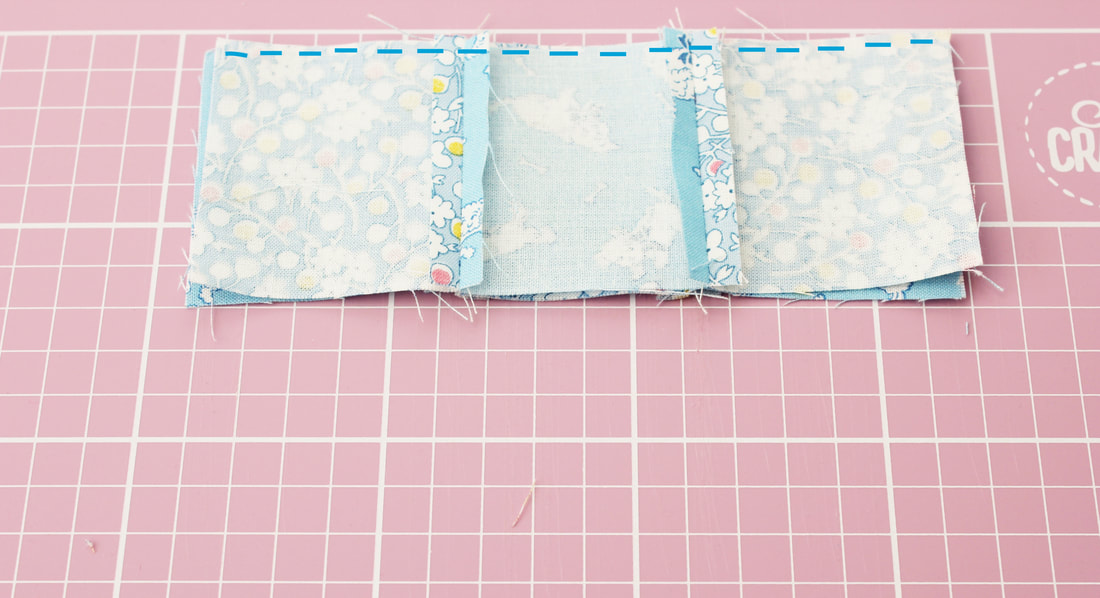 Top Tip! It is important to line the two middle seams up of both rows before you sew them together. I use pins to do this and I stick the pin through the middle of each seam, catching the middle of the seam on the other piece.
7. Open it out and press your seam open. 8. Repeat steps 6 and 7 to join the bottom row, making sure you flip the bottom row up, lining up the top raw edge of the bottom row with the bottom raw edge of the middle row! 9. And that is your block finished! Repeat for the rest of your blocks and you will be ready to add sashing. I will be back tomorrow showing you how to do that! As always, if you have any questions or need me to clarify anything, leave a comment or send me an email. Happy sewing!
1 Comment
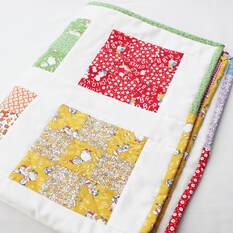
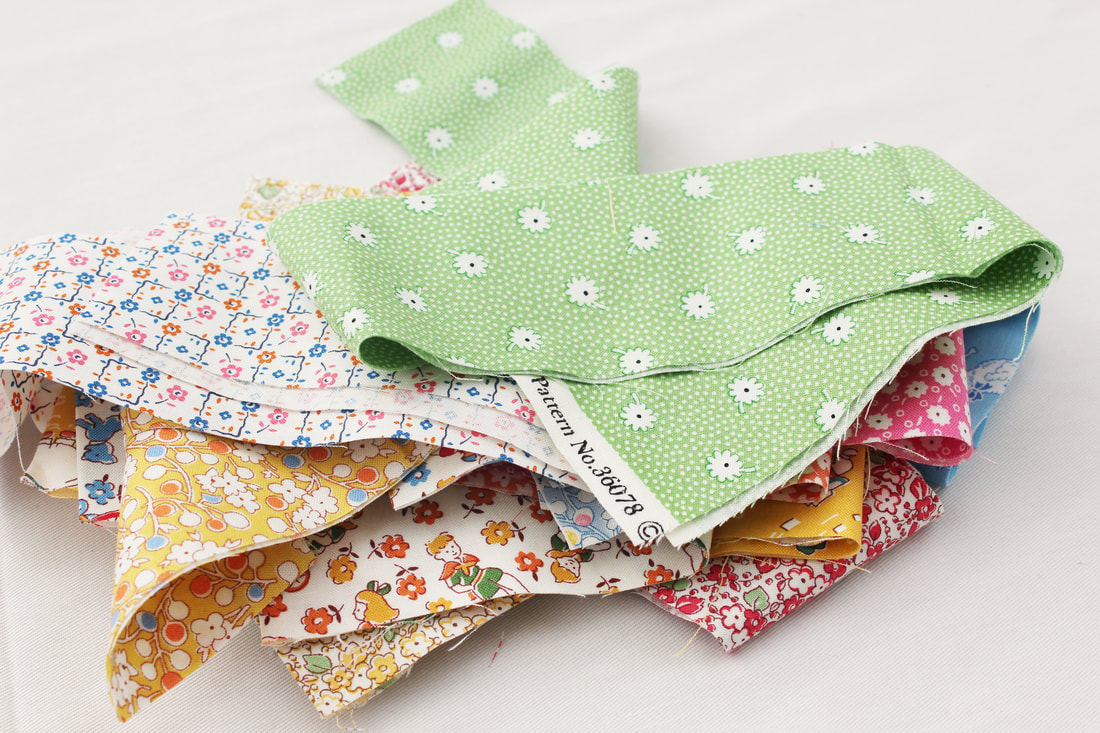
I've been sharing on Instagram a small quilt I've been making and I think it's perfect for beginners. It is the ideal size to be used in a pushchair/buggy or for a child to use with dolls and teddies as it measures just 26 inches wide and 34 inches long. I've created it using a simple nine patch block and I repeated that throughout the quilt, separating the blocks with sashing. 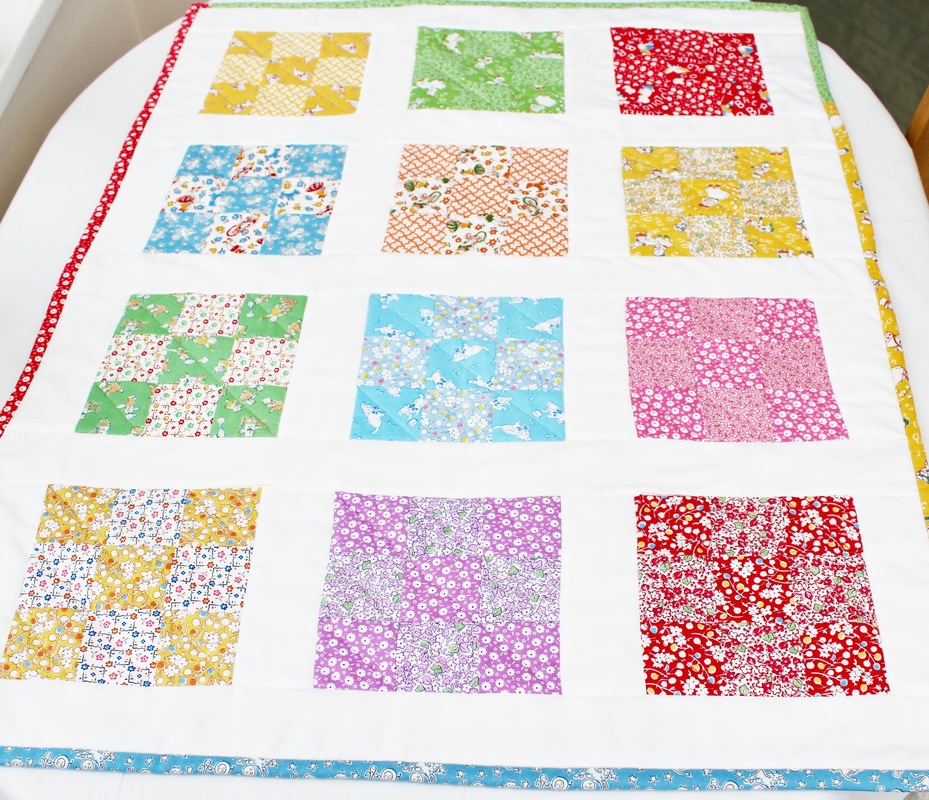 What's nice about this quilt is that you can easily make it larger if you wish and also, the nine patch block looks more complex than simple squares, but it really isn't hard to do at all. As a beginner, you'll learn some useful techniques that will have you feeling confident enough to tackle your next quilt.  It's entirely up to you how you make this quilt. You can play around with fabrics, colours and size. To keep it simple, I will provide a list of what I used.
 That's it! Gather your supplies and I will be back with the next steps - how to piece the quilt top. Happy sewing!
 I'm starting a new series of blog posts aimed at anyone who would like to make a quilt for the first time and is not sure where to begin. There is already a wealth of information out there but it can be quite overwhelming. So my aim is to break it all down and to make it easy to understand and follow. This post will explain some quilting terminology and there will be subsequent posts about the materials you need, how to make a simple quilt top, how to turn it into a quilt and how to bind the edge. 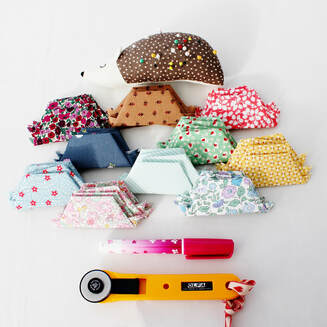 As with any craft, quilting comes with an array of terminology that might be confusing to you if you are entering the world of quilting for the first time. So let's simplify some of the common terms. 1. Quilt - a quilt is made up of three layers, a quilt top which is created using some sort of patchwork, the middle layer which is some sort of wadding or batting which gives the quilt its warmth, and a backing fabric which is typically one single piece of fabric. 2. Piecing - this means the creation of a quilt top, by cutting fabrics into smaller pieces and joining them back together again in a particular design. This is typically done on a sewing machine. 3. English paper piecing - a style of patchwork that is done by hand. It involves cutting fabrics into small shapes and wrapping them around paper templates, joining them together with other shapes to form a design and removing the paper templates when the quilt top is complete. 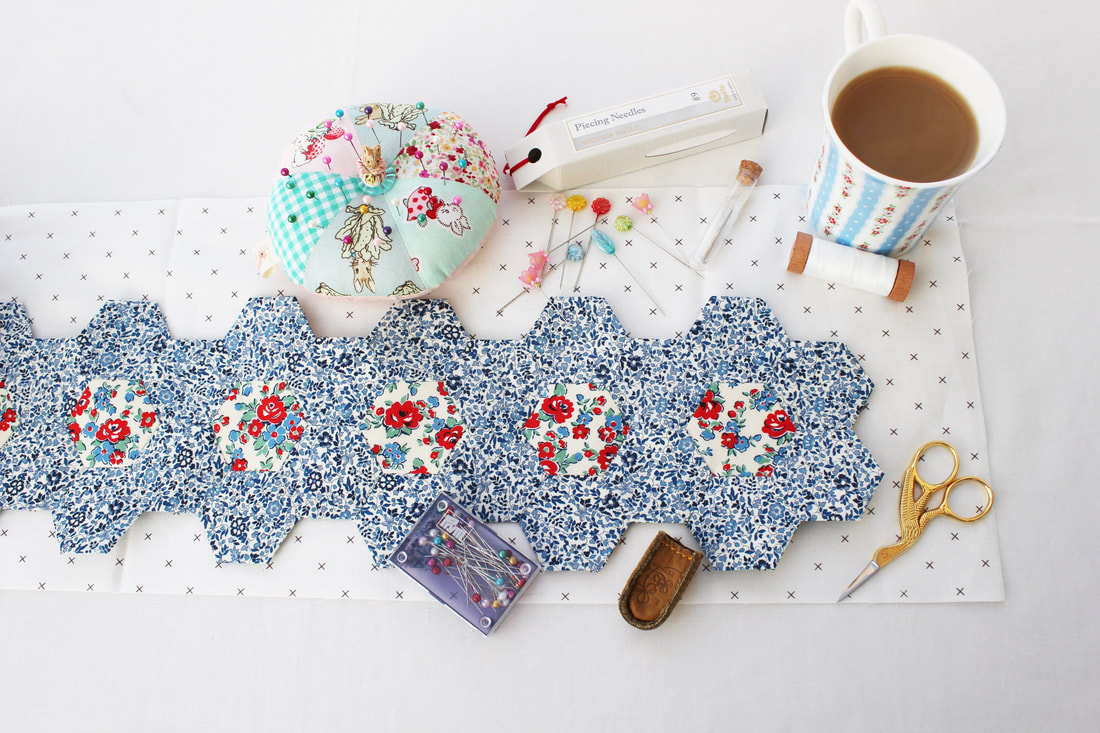 4. Binding - a strip of fabric that is wrapped around the edge of the quilt to conceal the raw edges. 5. Blocks - Quilts can be large so they are usually made from small segments that are joined together. These smaller parts are called blocks and they are usually square. 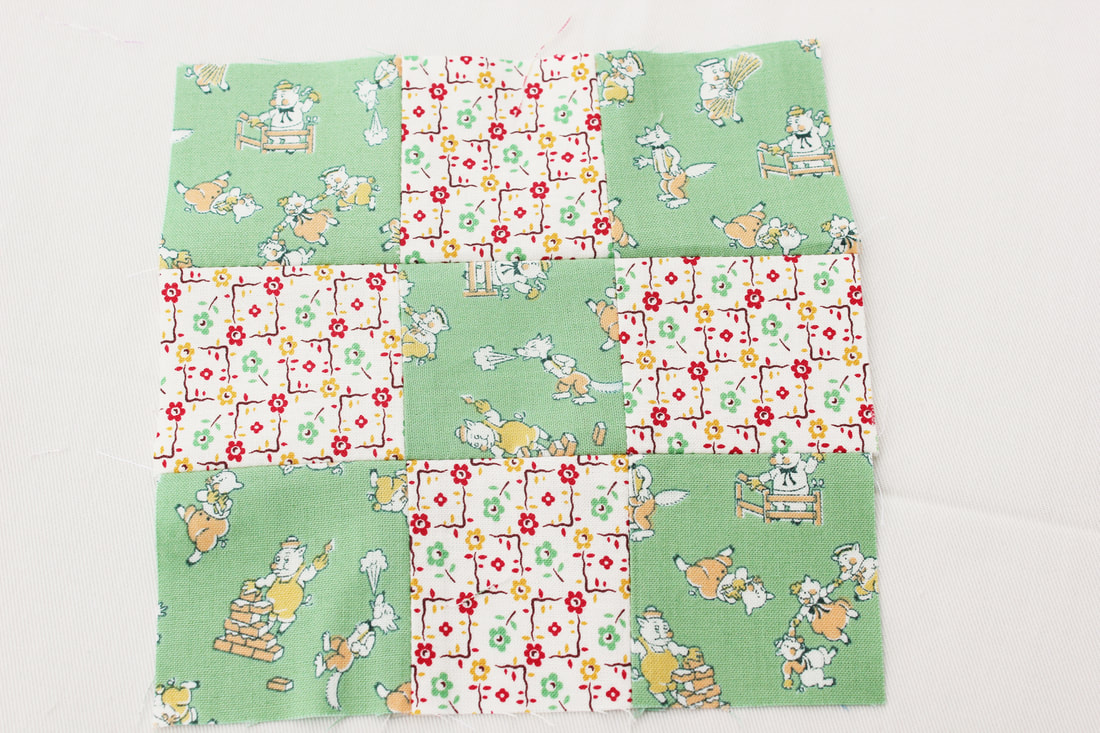 5. Quilt sandwich - this refers to the layering up of your quilt, comprising of your quilt top, your wadding and your backing fabric. The wadding is the 'filling' and the quilt top and backing are the 'bread'.
6. Basting - a temporary way of keeping your layers together whilst they are being quilted. You can baste them together using pins, spray glue or tacking stitches which will be removed when the quilting is done. 7. Quilting - this is the act of using the stitches to sew through all three layers to quilt them together. This can be done by machine or by hand. 8. Walking foot - a special sewing machine foot that helps to guide the layers of fabric through your machine in a way that prevents them from slipping. This foot is essential for quilting, unless your machine has a built in foot like mine does. 9. Free motion - this is when you drop the feed dogs on your sewing machine (the teeth that pull the fabric through the machine) and using an open toe free motion foot, you can quilt through the layers in any direction in which you move the fabric yourself. This opens up a world of design possibility. 10. Long arm quilting- this is done on a special, huge machine. The quilt is put on a frame and can be quilted with larger, all-over designs. This is a professional finish although some home sewers do have these machines. 11. Applique - the application of fabric shapes to a backing fabric. They can be sewn by hand, turning the edge of the shapes under first or they can be stuck to the backing fabric with either glue or iron-on fusible webbing and then sewn around the raw edge. Applique is a lovely technique for creating pictorial quilts. 12. Sashing - fabric strips that are sewn between the blocks of the quilt to space them out and create a clean, fresh look. 13. Low volume - this refers to fabrics that have a more neutral colour palette and have a less busy pattern. Low volume fabrics are important for creating contrast in your quilt design and allowing intricate pieced designs to really stand out. 14. Fussy cutting - when you cut your fabric into smaller pieces for patchwork, rather than cutting anywhere, you can pick a motif or part of the fabric that you want to be the focus of your shape, and centralise it. Fussy cutting offers a lot of scope for creating new designs from your fabric and you can create very intricate patterns this way, but it inevitably creates more fabric waste. And that's it for now! If you have come across any more terms you are unsure of then please leave them in the comments and I will try to answer what they mean. I will be back soon with another post about getting started with your first quilt. Thanks for reading and happy sewing! |
Follow me on InstagramAbout the Author
My name is Emma and I love all things sewing, especially EPP. My little blog is the place where I document what I'm making. I hope you enjoy reading what I'm up to! All opinions are my own and I only share things that I think you will love. Thank you for taking the time to stop by. Archives
September 2023
Categories
All
|
 RSS Feed
|
Copyright Vintage Sewing Box 2024
|
| ||||||